Training strategy, gear packing list and takeaways from an epic hike in glorious Colorado, just outside a little place called Aspen, where the beer flows like wine.
Ever busy with work and school, and facing the despair of a finish line void, I penciled in an epic hike on my list of things to do in 2019.
It’s not a Ironman, but it many ways an epic hike packs its own unique version of a big-time endurance adrenaline rush punch: it requires planning, training, will power, fitness, health, humor, mental toughness, cat-like mobility, an dogged thirst for pushing yourself to the limits. And also a strong hunger for being uncomfortable, often awkwardly so.
What epic hiking lacks in the hype and glamour of a triathlon or big race, it more than makes up for in the subtle joys and inspiring landscapes of the great outdoors.
Thus, I searched for “epic hikes” and “awesome treks” and “most triumphant excellent experiences that are legal in the contiguous United States” I found many a list.
And near the top of many of those lists sat the Maroon Bells Four Pass Loop in beautiful Colorado.
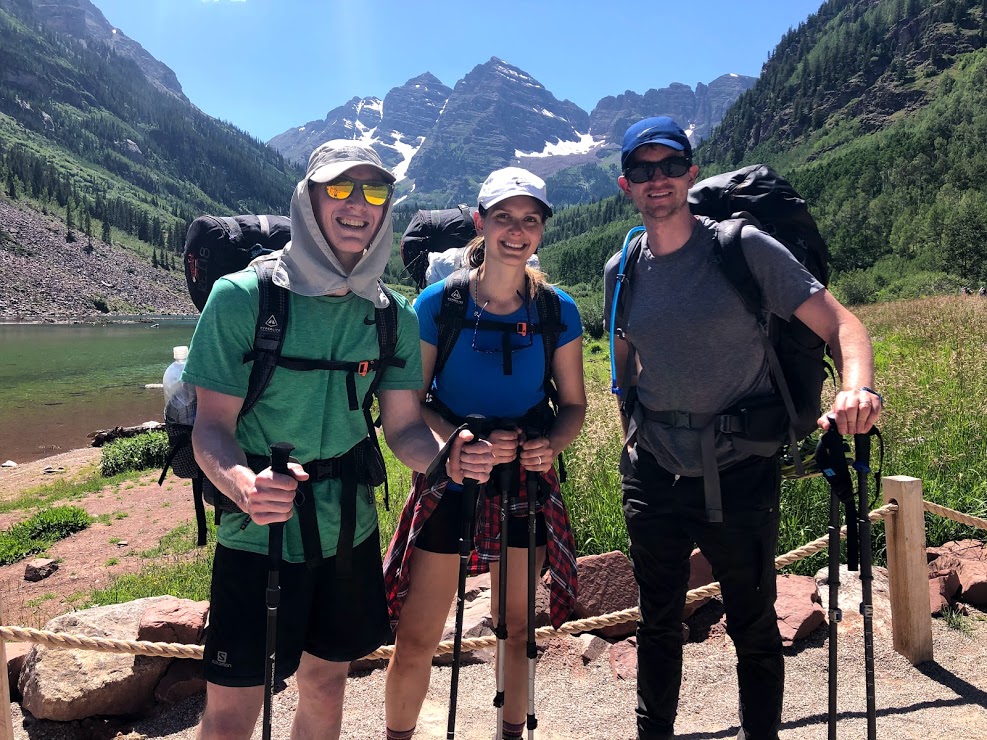
So I called up my Colorado Ironman fam – my sister Cecily and bro-in-law Mike – and was like, “Yo. Maroon Bells?” And they were like, “Umm. Yeah!”
Actually, I might have been like, “Yo. Down for an epic hike this summer?” And they might have been like, “Two words: 1) Maroon, 2) Bells.” And I might have been like, “Two words: 1) Giddy, 2) Up.”
Either way, we went after it, and it was truly awesome, and indeed epic.
Here’s a breakdown of how it all went from my perspective, from training and gear packing, to stats, highlights and takeaways from the hike itself.
Hope this helps you plan for similar epic hikes, and if you ever get the chance to do Maroon Bells Four Pass Loop, I highly recommend you 1) Giddy, 2)Up!
Training
I adopted the “under-train, over-perform, pack-like-a-nerd” strategy for this adventure.
In the months leading up to Maroon Bells I was only running about once a week, and they were light VFF runs at that. I took three training hikes, of about 10 to 16 miles each, up in Flagstaff for some elevation exposure and practice with a weighted pack.
More importantly, during that time frame I focused on the big picture, building healthy habits in nutrition (adapting to a low-carb, high-fat, keto diet), mobility (frequent walks, less sitting, myofascial release with lacrosse ball and foam roller), sleep (at least seven hours per night, but goals of more than eight), cold showers, stress reduction, meditation and breathing exercises.
Come August I felt strong, fresh, fat- and keto-adapted, ready and excited.
Packing list
Here’s my packing list from the trip. I’m including everything I actually packed, along with comments on the stuff that I would add, drop or tweak for next time.

Gear
- Backpack (All in, my pack probably weighed in at about 30-35 pounds)
- Tent
- Sleeping bag
- Insulated pad
- Trekking poles
- Compression dry bags
- Bear canister (Required by park rules)
- Trash compactor bag used as pack liner (I’d leave this out next time because it’s probably overkill – all my stuff was stored in the compression dry bags and those would probably be enough to keep everything dry)
Clothes
- Hiking boots, waterproof (May go more minimalist with footwear next time; these boots are pretty heavy duty, and I feel like I would’ve been fine in lighter trail runners)
- Water shoes (Next time I’ll bring VFF or sandals instead to shed a few ounces)
- Warm jacket
- Rain jacket
- Running shell (Will bring this next time, instead of an extra long-sleeve shirt, for something light to throw on, even just for protection from bugs and sun)
- Two pairs of socks: one light, one heavy
- One short-sleeve shirt
- One pair of shorts
- One pair of pants
- One hat with a Sahara-type thing that attaches to cover neck and ears
- One beanie
- One pair of gloves
- Sunglasses
Nutrition
- Three liters of water (My hydration bladder had a leak so I opted for two 1.5L bottles instead, and stashed them in the side of my pack. This would have been fine, but as we were hiking down the side of the mountain on Day 2, I took a misstep on the trail, stumbled and fell. I was fine, but one of my water bottles slid out and tumbled down the mountain, never to be heard or drunk from again. I have since repaired the leak in my hydration bladder – simple fix rubbing Vaseline on the o-ring that secures the cap in place – and will use that going forward for two reasons: 1) it’s secured inside the pack, preventing any roll-outs, and 2) it makes it easier to take sips of water on the fly)
- Water filtration system
- Stove kit, pot, propane, utensils
- Instant coffee (This worked, but may bring the real deal next time)
- Beef, elk and pork jerky
- Salami (Didn’t touch and would leave out; seems like a hassle to peel and slice)
- Two avocados
- Big salty nut sack: almonds and macadamia nuts sprinkled with pink himalayan salt
- Protein bars
- Morning coffee booster mix: 1 scoop collagen powder and 1 teaspoon maca powder
- Four instant backpacking meals, one of which was Shepherd’s Pie, which is apparently the go-to backpacking meal for Keith Richards (each meal is two servings, I’d scale back on these next time, and try for a more keto-friendly option, aside from the essential Keith Richards Special, of course)
Hygiene
- Towel (Pack it in the outer pocket of your bag for easy access)
- Sunscreen (So much sunscreen!)
- Floss and toothbrush
- Chapstick
- Toilet paper
Incidentals
- Headlamp
- Watch
- Phone
- Compass
- Trail map
- Bungee cord
- Knife, multitool
- Lighter
- First-aid kit
- Microspikes (I have yet to use these. We encountered a handful of slippery ice and snow patches on this hike and were able to safely trek on through in our regular hiking boots. Might be a different story in the cooler months or different terrain. If I were to go again, assuming equivalent conditions, I’d leave the microspikes at home.)
- Bear bells
- Poop shovel
- Reading material (This went largely untouched – my head felt so full already from the outdoors – never had much of an appetite for reading.)

The hike: Maroon Bells, Four Pass Loop, counterclockwise
Here are some basic facts and details via the US Forest Service :
Distance: 28 miles
Beginning Elevation: 9,580 ft
Highest Elevation: 12,500 ft
Bear canisters are required
No permits required, just a $10 registration at the trailhead
We did the hike in three days, with roughly 10 miles of hiking each day.
Typical day:
- Wake up around sunrise; coffee and breakfast; pack up gear; hit the trail by about 8am
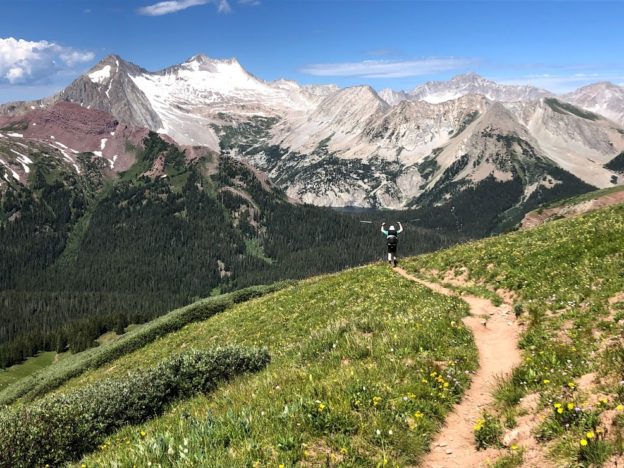
- Hiking, hiking, hiking…
- Arrive at next campsite early to mid afternoon
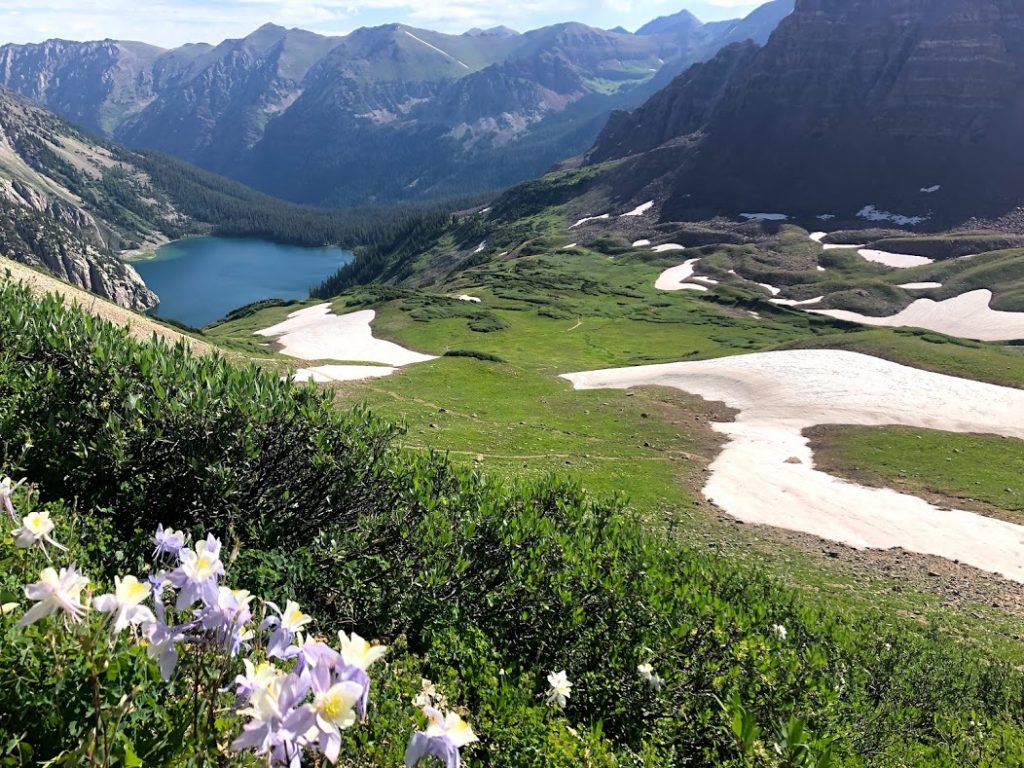
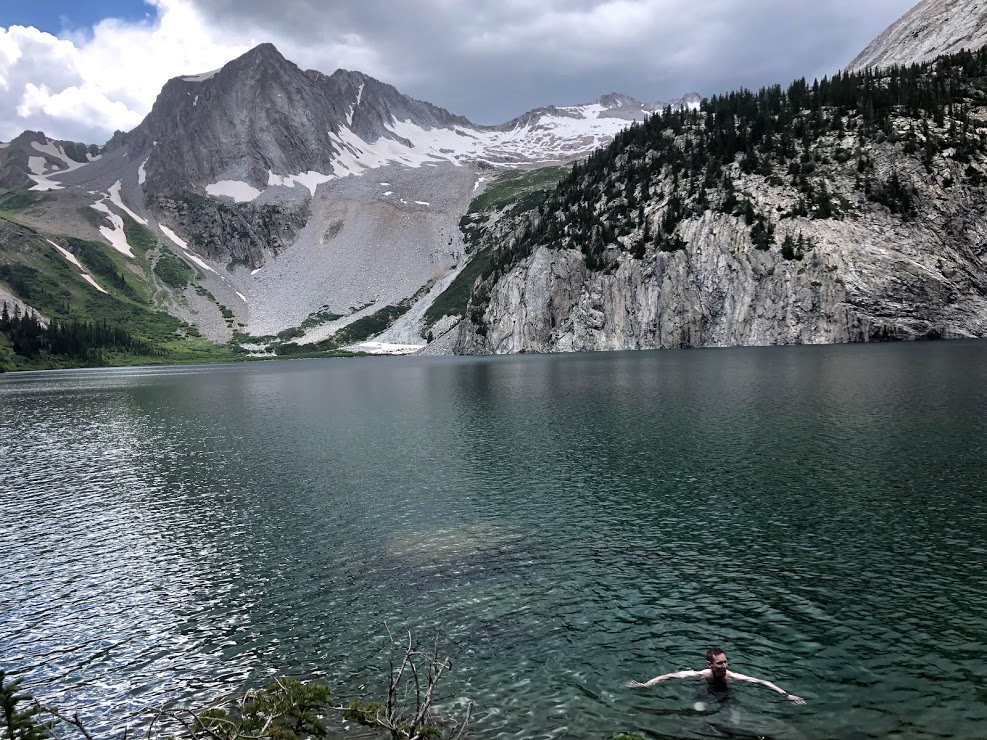
- Pitch tent, set up camp upon arrival, then chill. Maybe take a cold dip in the lake (pictured)
- Cook (that Keith Richards Special Shepherd’s Pie) dinner around sunset, shoot the breeze, smack mosquitos, soak in the gloooooorious nature bath
- Make elegant use of the poop shovel
- Stash the bear canisters with all your food and scented items 100 ft away
- Bedtime around 8pm
I would get a bit tight overnight, but once I started moving in the morning, I felt great and excited for another day of epic hiking. Remember: undertrain, overperform!
There were a few sketchy sections, all occurring on Day 2: 1) icy snow patches on our hike out of Snowmass Lake in the morning; 2) felled trees from previous avalanches covering the trail in the afternoon; 3) intense heat and swarms of rabid fat flies wouldn’t let up during a stretch where we just wanted to relax in some cool shade.
But none of it was all that bad, and we were good, and made it through no prob.
Seems like most people take the clockwise approach to the loop, as described at the link above.
However, we went counterclockwise, which had a few benefits: 1) we were able to clear the cornice at Buckskin Pass on the first day, rather than waiting until the third day to gauge what kind of shape the trail was in; 2) we hiked down the super steep side of Trail Rider Pass (people hiking up that section looked destroyed!); and 3) the third day, after two relatively easy passes, was a pretty steady downhill all the way back to the parking lot.
It’s an epic hike no matter what route you take.
You can talk, you can listen, you can trudge on, you can let the sounds of your footsteps fill your head, you can rest, you can laugh and breathe it all in – all the joy of that glooooorious nature bath soaking into your system.
No cars.
No finish line.
No mountain bikes.
No ads or blaring music.
No words or photos do it justice.
— Live every day —
Adam